Recording an Animation
We are now getting into the meat of the system, the RecorderProgram.
If you haven't gotten it already, this system works as a custom animation player optimized only for rides and roller coasters. Now that we have setup or animation players, we need a way to record animations for our animation players. For that, we use a Recorder Program.
Recorder Program
The Recorder Program is a ModuleScript used to simulate your coaster and create an Animation. The ModuleScript itself returns a function which takes API used to record and export animations. This API will be referred to through the rest of the tutorials as the "Recorder API" and it's docs can be found here.
Finally, the plugin runs the programs which generates the animations.
Why a ModuleScript and not a plugin UI?
The short answer is that designing a UI that supports all of the features of this plugin would take too long. Additionally, scripting, in the author's opinion, feels more expressive and less restricting than what a UI could do.
As the framework and Recorder API matures, you may see the RecorderProgram template change in order to support new features.
These new features usually try to cut down on the boilerplate needed to setup a program.
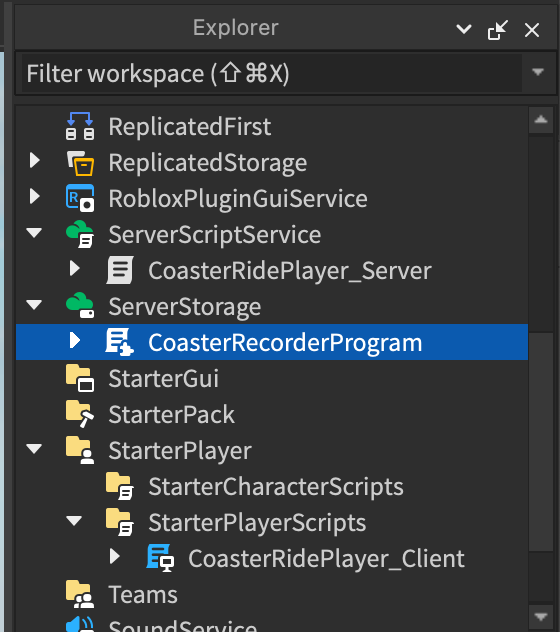
The RecorderProgram for our ride can be found in ServerStorage under the name CoasterRecorderProgram.
The RecorderProgram Template
It's important and recommended that you look through it to familiarize yourself how it works, so lets do that.
Open up the CoasterRecorderProgram ModuleScript and lets quickly scan the contents.
The template is designed to create an animation that first stops in the station for 20 seconds then does a simple circuit around the layout. It loads our Main track and our TrainModel from our RideData. This is why we did not rename both of these assets. It also loads the Main TrackSectionsData from the TrackSectionsData child of our program. More about TrackSectionsData when we edit it later on. Finally it will export our generated animation named RideAnimation to the Animations folder of our RideData, which will be used by our RideScripts when playing the animation in-game.
Most recorder programs tend to follow the same order of operations:
- Setup Tracks
- Setup TrainModels
- Setup TrackSectionsData
- Record Keyframes (simulate physics, etc.)
- Export Animation(s)
Most of the setup and export is done through some boilerplate classes designed to lessen the duplicated code.
The classes used are RideProjectLoader and AnimationRecorder.
Recording Keyframes is the most important and complex step as you are trying to generate a full animation from scratch. To do so, you manipulate and add keyframes to a KeyframeRecorder and triggers to a TriggerRecorder.
We don't want to hand animation a roller coaster frame by frame, do we? Luckily, the Recorder API offers many different modules to "simulate" these movements. Roller coasters use the PhysicsSimulator module, which is designed to simulate track-based physics. There are many other different Simulator modules to help simulate your ride such as Easing, Spring, and even Hinge. Read more about them in the Recorder API Docs
Finally, exporting takes the KeyframeRecorder and TriggerRecorder and exports the animations to something the framework can read. Again, like the setup, there is boilerplate to load and replace it in your ride's RideData.
If you are still curious about how the template works, the Recorder Program Tutorial goes more in-depth of explaining everything inside of it.
Running the Recorder Program
Once we have our RecorderProgram ready, we can run it using the plugin.
It is recommended that you have the Output window open in Studio to observe whether your program ran without errors.
If you do have any errors, please refer to the section on debugging here.
It's pretty simple to do so. First we must select our RecorderProgram, CoasterRecorderProgram, in the Explorer.
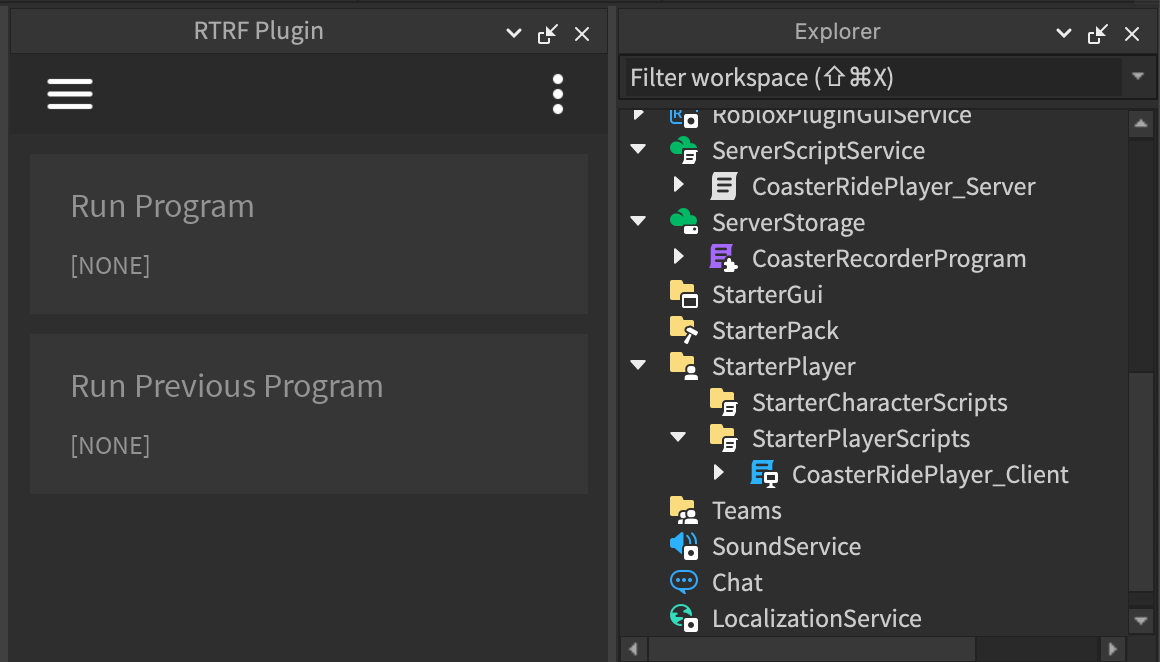
Then, in our plugin, we click the Run Program button. This button can only be pressed if it detects a ModuleScript is selected.
Program Unselected:
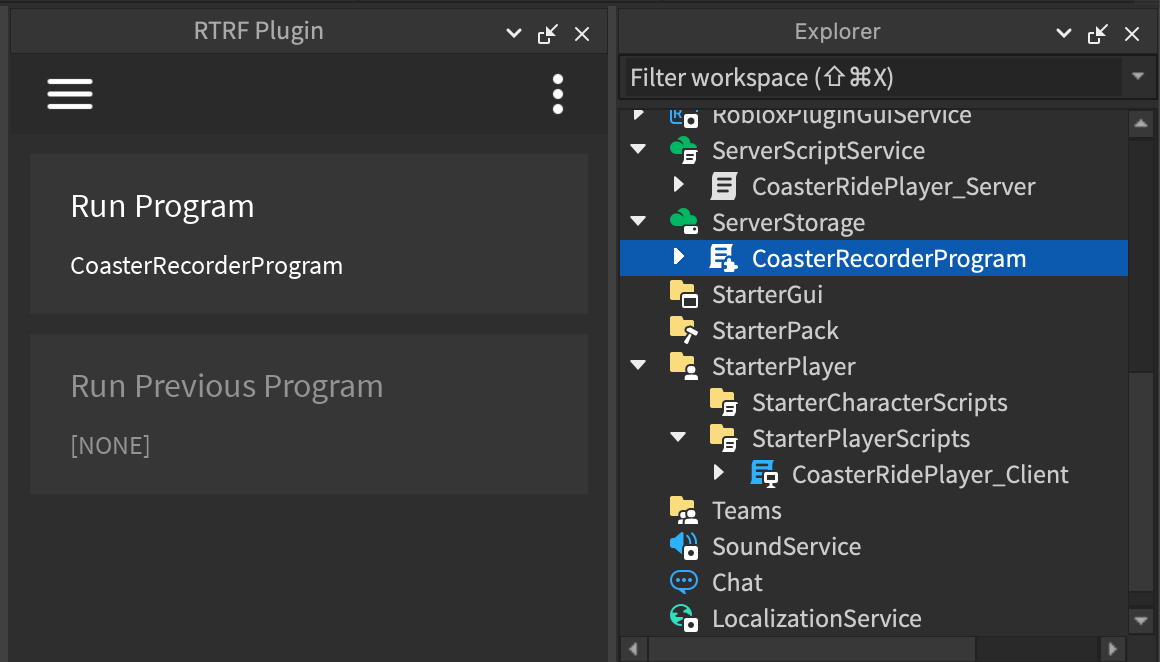
Program Selected:
Run Program:
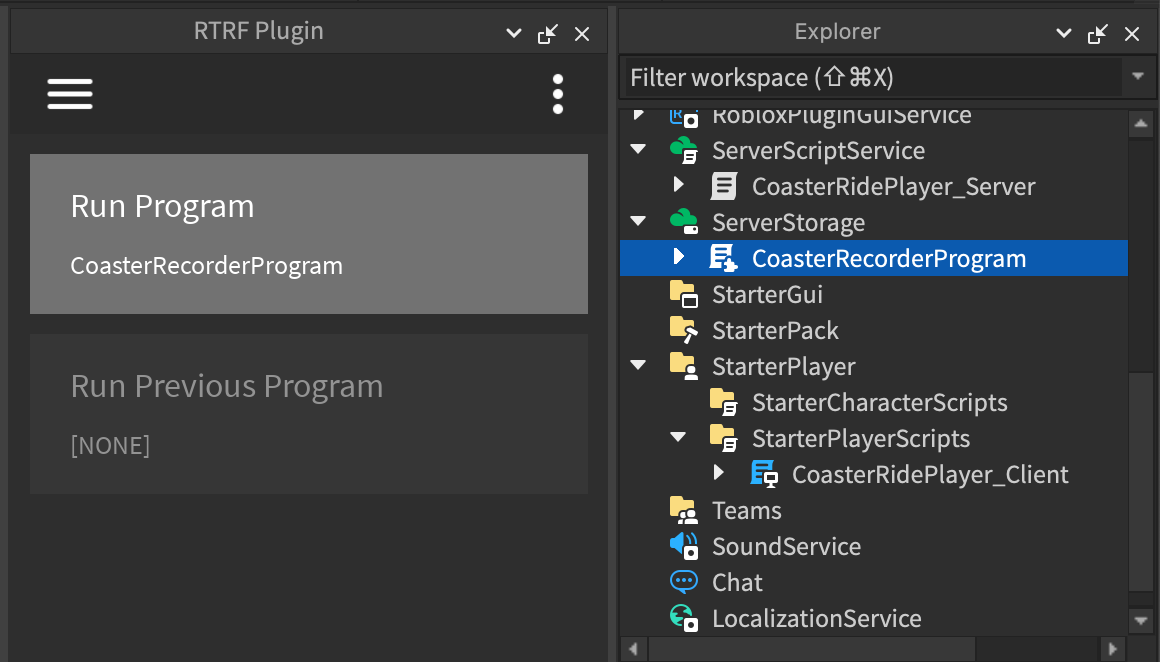
As said above, the base template will generate and export animations into Animations folder in your RideData. You should find a new ModuleScript named RideAnimation under the AnimationsFolder.
If you make any changes, you can select the Run Previous Program button, which just runs the most recently ran program again. The template will automatically replace the old RideAnimation animation with the newly generated one.
It's recommended that you re-run the RecorderProgram when modifying anything that would change the simulations. This includes:
- Any changes to
RecorderProgram - Changes to any used
Tracks - Updating WheelSet offset positions in
TrainModels - Changes to any used
TrackSectionsData
We now have an animation for our coaster! However, if you were to run it, it won't start in our "station" where we want it to. In the next tutorial, we will adjust the starting position of the animation and learn how to get positions on our track.