Tutorial Setup
Before we get started, download the following place containing all of this tutorial's assets:
Link to Starter Tutorial Place (Not Setup)
Open it up in Roblox Studio.
You'll notice our workspace has the following Models:
- Station
- Points
- TrainModel
The Station just contains the platform and decor for our station. It's mainly useful to mark out where our station is in this bare bones template and to hold our SpawnPoint close to where our train will be.
The two Models we will are primarily interested in are Points and TrainModel.
Points

The Points model contains the layout of coaster. Each Part is positioned at the track line of our coaster and follows the double looping and double corkscrewing path of the coaster.
If you were to expand it's children in the Explorer, you'll notice that it is setup in a unique way. All of the children are numbered in-order starting at 1 following the layout and are never duplicating. This setup is referred to as OrderedPoints, or just Points in these tutorials.
The framework requires the layout's compiled points model to be setup in this way to be properly loaded, though you still need to do some setup before it does. This will be done so later in this tutorial.
If you are using NWSpacek's Coaster Plugin, the original version does not support the compiling of a NWSpacek's spline in this way, instead naming all children as "Track". You will need TheEpicTwin's modded version of NWSpacek's Coaster Plugin in order to compile as OrderedPoints.
Link to Edit of Spacek's Coaster Plugin
If you are importing from NL2, TheEpicTwin's NL2ToRoblox plugin already does this by default.
Train Model
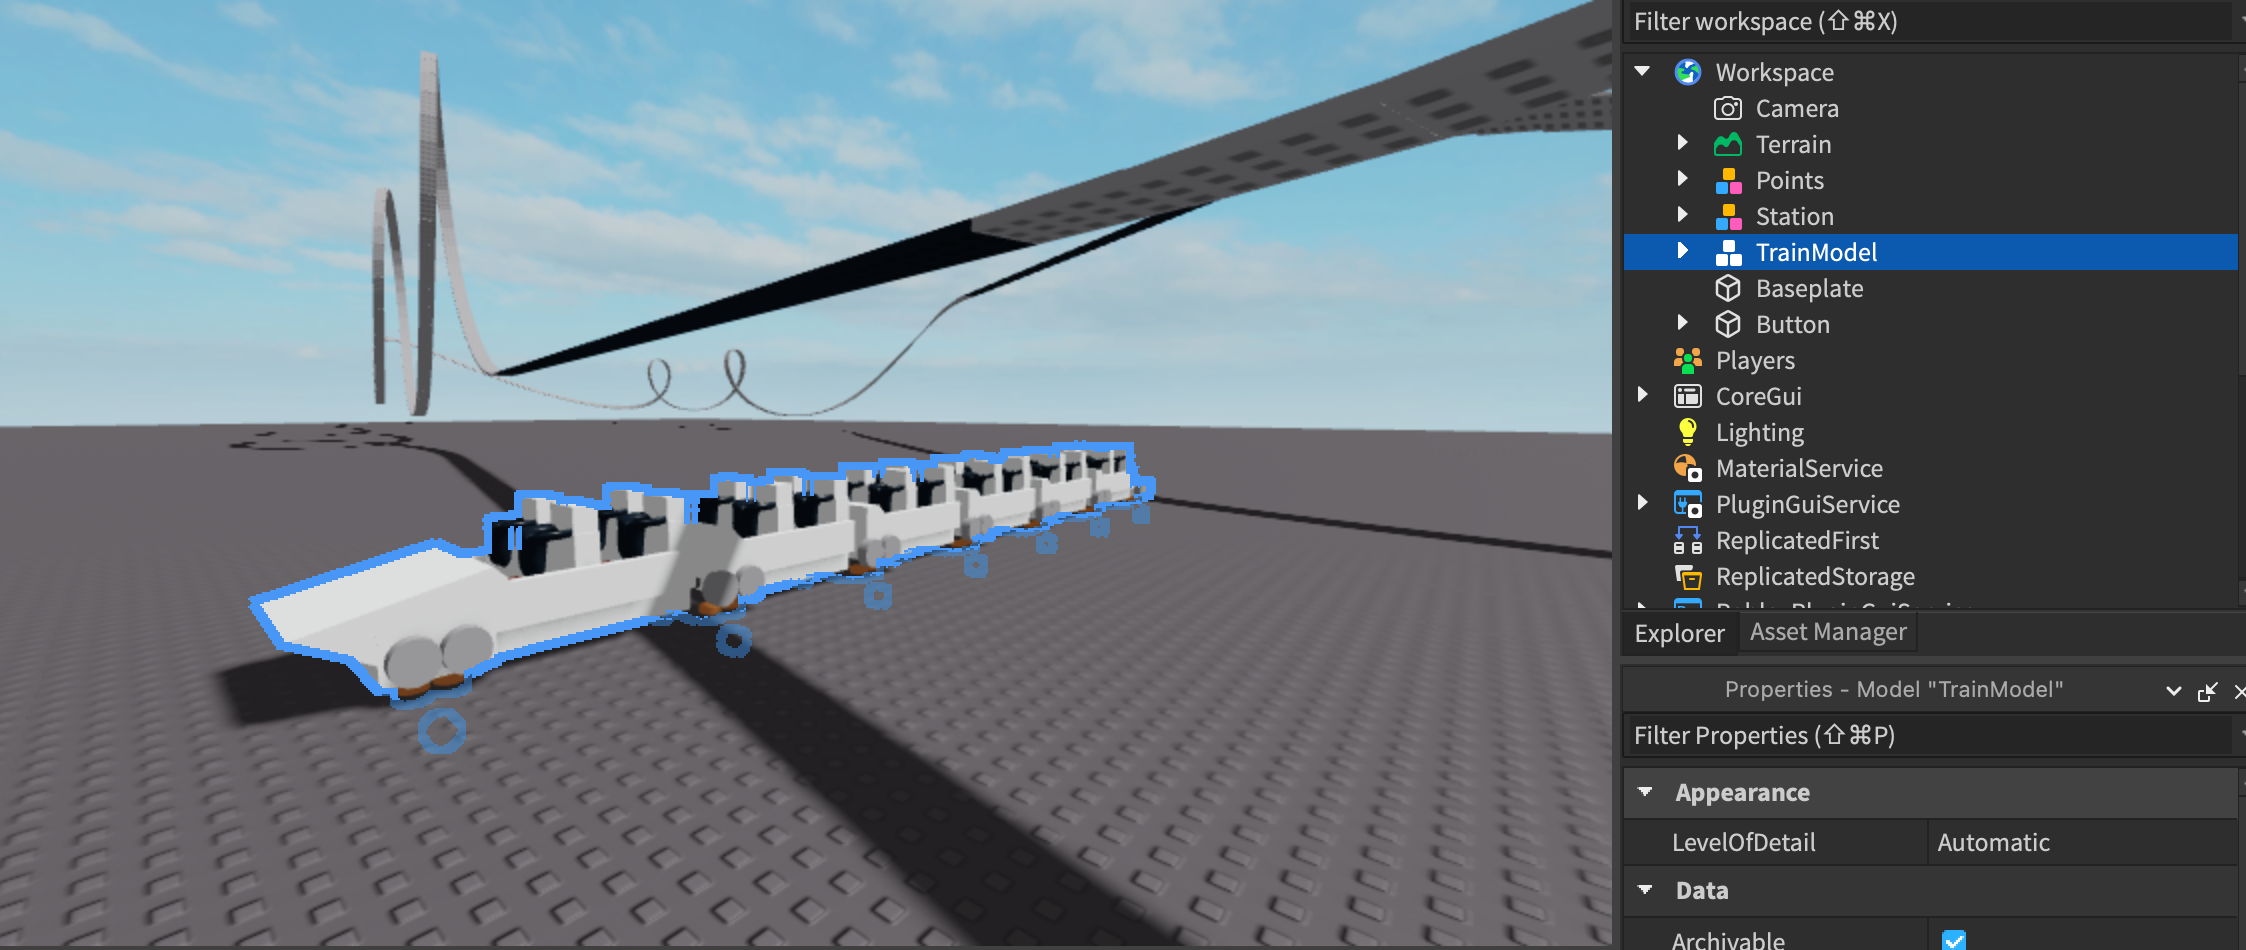
The TrainModel is, well, the model for our coaster train. Compared to our Points, however, the included model is already fully setup for the framework. This is because the process for converting a full train model to be recognized by the framework (referred to as rigging, similar to how you would rig a character model for an animation), is tedious and somewhat long and complex. It's better suited in it's own tutorial which you can find later in the docs here.
If you were to look through it, you'll notice that each moving part of a train is grouped separately: Cars and Connectors and Chassis and WheelSets. This is so they can be moved independently of each other, providing a more realistic articulation and movement in action.
One thing I want you to specifically look at is the MidPoint value. This will be used later. To spoil what it does, it tells the framework what the "middle" of our train is while it's on the track. This is important as the position of this affects physics and positioning when using certain CFrameTracks.
It's recommended you leave this at 0.5, which is the middle.